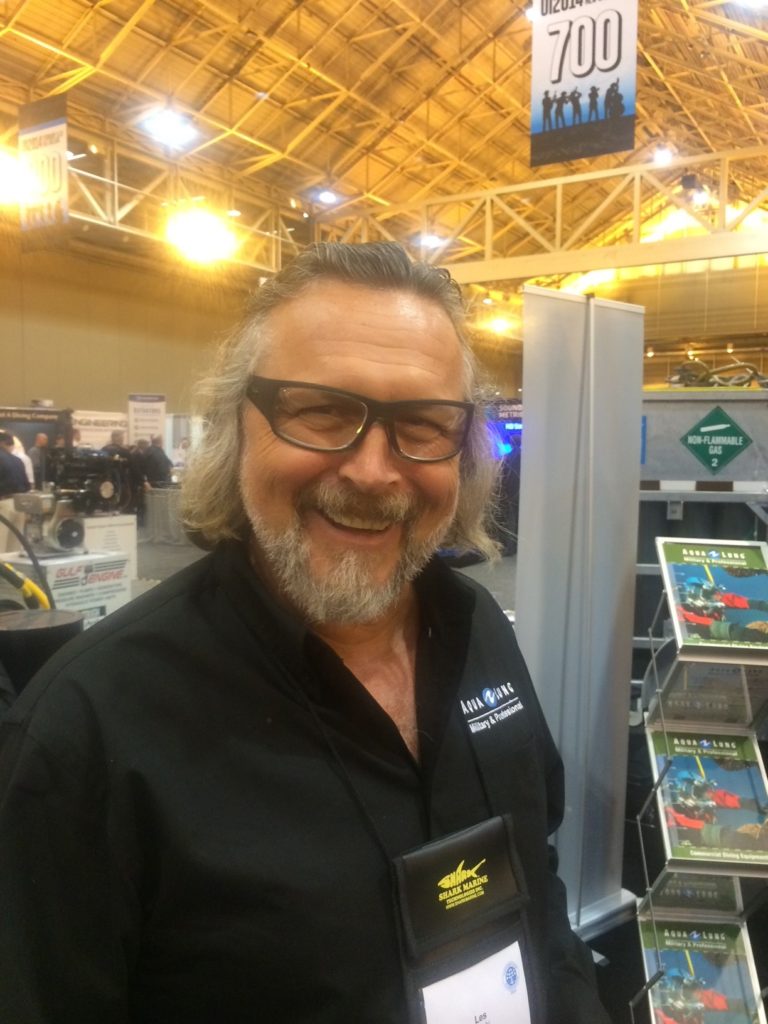
In June, the diving industry lost a pioneer. Les Gorski will always be remembered for his innovative contribution to commercial diving with the release of the Gorski G2000SS stainless steel helmet.
I thought revisiting this article would be an appropriate tribute. It was originally written in 2010 when Les was still at the helm of the G2000SS. (That means, yes, it still references the Cyklon 5000 regulator rather than the Apeks found in the new G3000SS.) Les will be missed and our thoughts are with his family at this time of grief.
This month, let’s take a look at one of the newer helmets on the market and what it takes to maintain it. The Gorski Hat from G2000SS, Inc. is a rugged stainless steal hat that focuses on simplicity. Not to say that this is not a top notch diving helmet by any stretch of the imagination. Its creator, Les Gorski, has designed a hat that’s all about function and ease of use.
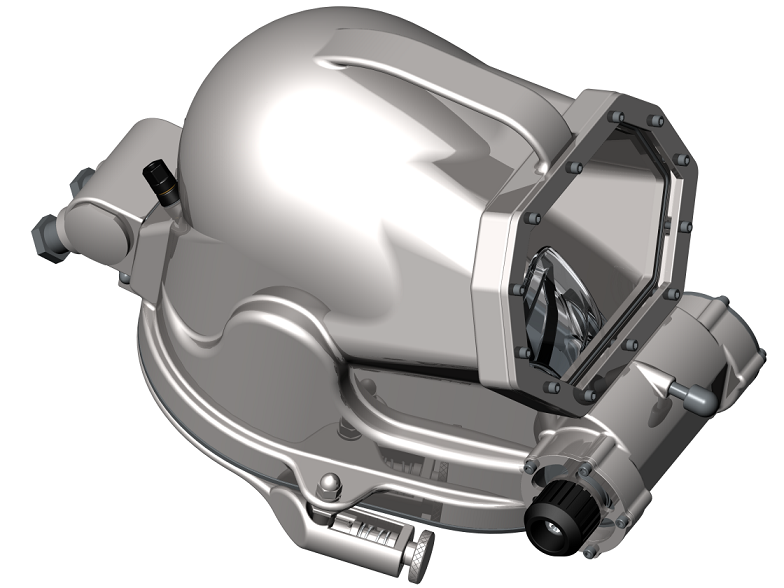
First, let’s discuss the hat itself. Here is an overview or quick tour of the Gorski. The Gorski is a stainless steel helmet with a weight of 29 lbs. on the surface. It utilizes a tried and true Poseidon Cyklon 5000 balanced second stage regulator as its main breathing component. That means there is no need for a diver adjustment knob for the second stage on the helmet. The only knob visible is for the steady flow. There is also no side block as seen on other helmets. Instead, it uses a manifold found in the rear of the helmet that counterbalances the front components. This creates a balanced helmet that actually feels lighter than it is. There are two NRV (non-return valves) located off of the manifold. (See Figure 1). One is drilled out for a SCUBA fitting while the other is a standard male O2 fitting. They are interchangeable and made up of off the shelf parts. I mentioned the Poseidon second stage. The only real difference between a standard Cyklon 5000 and the one installed in the helmet is the addition of a grove machined on the outer assembly to accommodate an o-ring to seal the regulator to the helmet body. You can see this in Figure 2. All of the plumbing is located inside the helmet. That means that there is no need for any special care for the piping while diving in colder water.
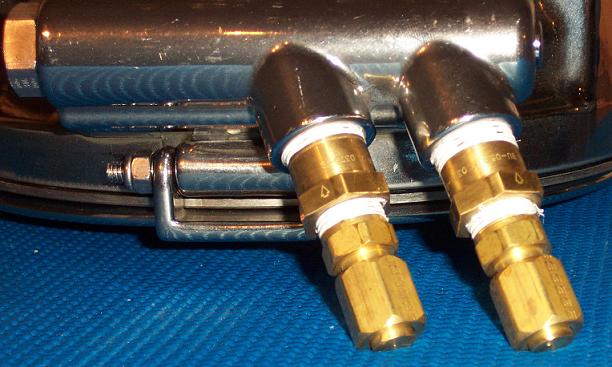
Figure 1
Figure 2
Now that we’ve covered the basic components, let’s explore maintaining this hat. The daily, monthly, post dive, in-water, and annual checks can be downloaded from the G2000SS, Inc. site located at www.GorskiHat.com. This article is not to provide the reader with every granular detail of the hat’s assembly, but to give you, the reader, an overview of basic maintenance procedures.
Let’s start with the daily check list. This is a basic functional check of the helmet and related components for the hat’s operation. These checks include checking the neck retainer and neck dam assembly for wear and damage. The ring assembly is a two-part machined stainless steel compilation. The only real worry would be any stripped screws. If it’s been bent, you dropped something really heavy on it or ran it over with a dump truck. Other than that, it should remain in great shape for the life of the hat. The neoprene neck dam is the more delicate item here. It needs to be inspected for any rips or excessive wear.
Next check is the oral-nasal and cleanliness of the helmet. One of the truly great things about this hat is the ease of removing the oral-nasal for cleaning or replacement. It simply slides off of the mouth piece of the second stage after unscrewing the inner nose block and popping out the mic. It can be removed and replaced in seconds. The only real note here is to make sure that the one way valve is positioned correctly. Make sure that the seal is in the inside of the mask. This ensures that CO2 doesn’t leak into the helmet while allowing air from the steady flow to enter the oral nasal for additional air.
Next task is checking the EGS. This check is pretty much all about common sense. We’ve all done it with every hat we’ve ever dove that allows for EGS (I needed to add that comment for those of you that are reading this and going to remark about a MK V). Check the tank for VIP and hydro date and check the hoses and rubber/viton bits for wear. Nothing special here. Make sure that you have checked and logged the pressure on your EGS.
After that, it’s off to check the two NRV fittings. This would be the suck and blow procedure. Blow in, air flows. Try and suck air out and nothing should happen with the possible exception that your face turns red after an extended period of time performing this task. Connect the EGS cylinder to the hat and momentarily open the free flow valve to make sure that adequate air flow is coming in the helmet.
Next, we go to the purge button. This is just checking for excessive travel (no more than a sixteenth of an inch) and confirming a strong flow of gas.
Basically, from there it’s attaching the umbilical, testing communications, then doing a surface leak test.
The whole daily check should only take about 15 minutes.
But, you say, that’s great but what if I have a problem? How easy is this thing to work on. Let me tell you, for the most part, it’s extremely easy. The second stage can be ejected from the helmet by simply removing 5 screws (as seen in figure 2). The same goes for the steady flow valve assembly (figure 3). To make sure that you didn’t have any nasty particles coming down your umbilical, the screen filter can be removed with on single bolt (figure 4). So, field stripping the main components takes a Phillips head screwdriver and an adjustable wrench. That’s it, nothing magical or overly special to do some basic troubleshooting.
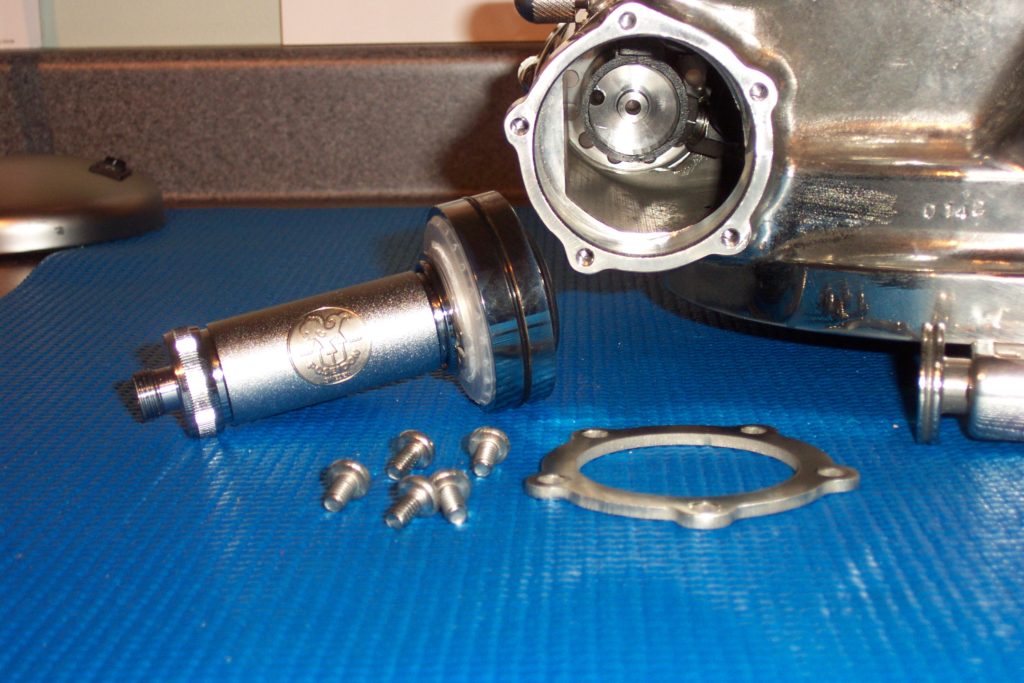
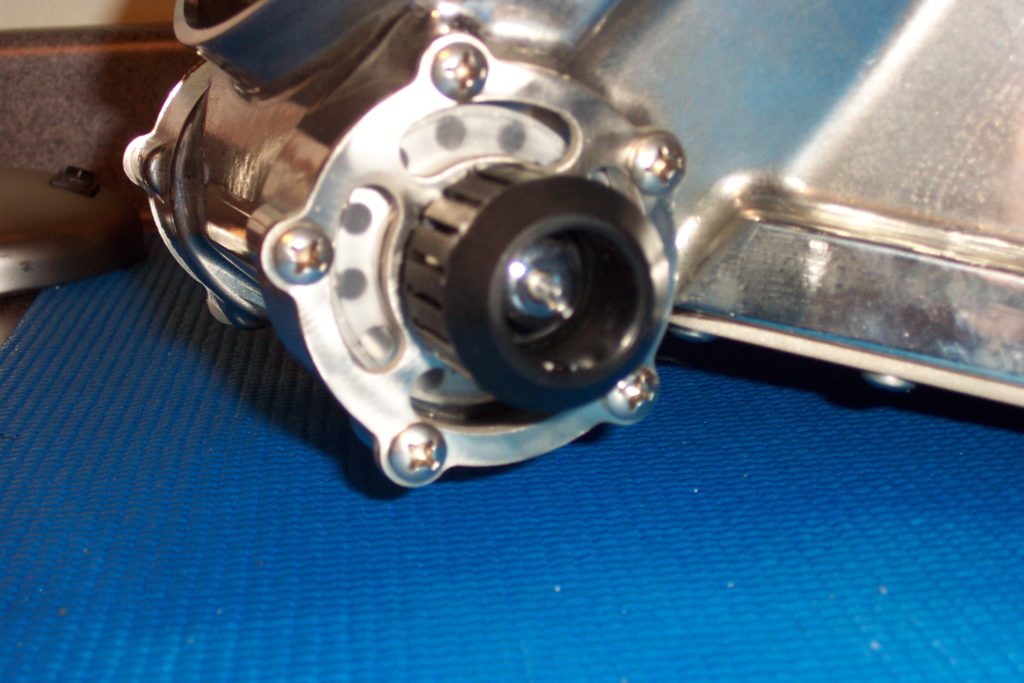
Figure 3
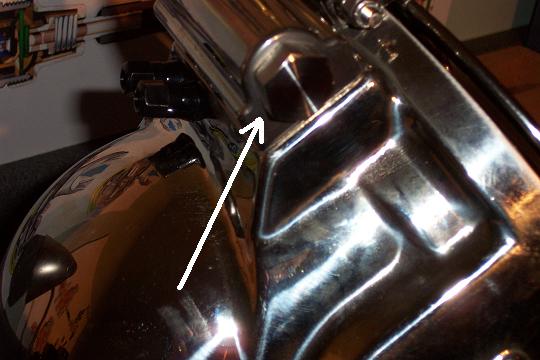
Figure 4
That’s not to say that a Gorski shouldn’t be serviced by a trained technician. You should have your helmet thoroughly checked and cleaned at least once a year. The most complicated aspect of this hat is the Poseidon Cyklon balanced second stage regulator. That will take special tools and care to maintain. That said, you can buy a spare Cyklon regulator from any Poseidon dealer and have the ring machined to have a field spare. Should you have a problem with the second stage for any reason, you could then remove it, send it to an authorized service center, replace it with your spare, and be back in the water within a matter of less than 5 minutes.
One question that I do often get is about the polished shell. This is all about function and not about form. The polishing is to allow for ease of cleaning. Nasty bits in the water have a very hard time clinging to the smooth surface. Keeping that in mind, the polishing on this hat is not performed to make it pretty and therefore, surfaces are going to differ from hat to hat. According to Les Gorski, all of the helmets are hand polished for smoothness and not to be perfectly shiny. So don’t be alarmed should you find some tool marks or polishing wheel marks. Those are totally natural.
So that’s it, simple and reliable. Daily maintenance that should take no more than 15-20 minutes coupled with an annual inspection should keep this hat in service for years to come.